Thunderbird is a popular email application designed by Mozilla. It offers a user-friendly interface for handling countless email accounts and is compatible with IMAP(Internet Message Access Protocol) and POP3( Post Office Protocol, Version 3) protocols.
Moreover, it offers numerous features that enhance its functionality, such as spam filtering, address book, and calendar integration. Thunderbird supports numerous Linux distributions including Ubuntu.
In this article, we’ll explore how to install and remove Thunderbird on Ubuntu.
How To Install Thunderbird on Ubuntu
There are two ways to install Thunderbird on Ubuntu. Let’s discuss them one after another.
1. Using CLI
First, open the terminal, and use the given command to refresh your system packages:
$ sudo apt update && sudo apt upgradeNext, run the apt install command to install the Thunderbird on Ubuntu:
$ sudo apt install thunderbird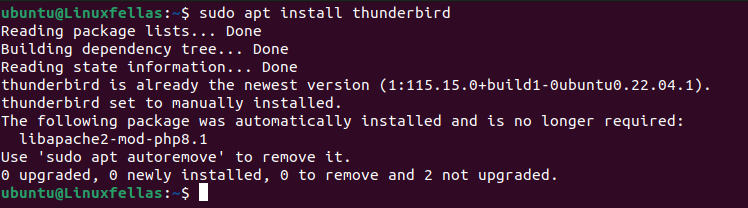
Ultimately, you’ve finished installing Thunderbird on Ubuntu using the command line
2. Using GUI
This is another way to easily set up Thunderbird on Ubuntu using the Ubuntu Software Center, which is the official store for downloading various applications on Ubuntu. To accomplish this, open your Ubuntu desktop and press the Ubuntu Software icon placed at the left side of your screen, under the Activities section:

After opening Ubuntu Software, you’ll see the Search bar icon at your screen’s top left corner. Simply, click on it and type the Thunderbird:

Afterward, click on the Thunderbird icon and then press the Install button to proceed:

Now, you’ll encounter an Authentication popup. Here, provide your system password and press the Authenticate button:

Wait for the installation to complete. Finally, you’ve installed Thunderbird on Ubuntu. You can open it by clicking on Show Applications and typing Thunderbird in the search bar.
Configure Thunderbird on Ubuntu
Once you’ve finished the installation process for Thunderbird on Ubuntu using any of the above methods (CLI or GUI). Now, proceed to configure it by below steps:
First, Click on the Thunderbird Mail icon located at the left of your Ubuntu Desktop:

Here provide your credentials such as Your full name, Email address, and Password. Then, click the Continue button:

After entering all the credentials, you’ll see two configuration options, IMAP and POP3. IMAP is used to store your emails on a server and synchronize them across numerous devices. On the other hand, POP3 is utilized to retrieve emails from the server to your local system and remove them from the server after downloading. Select one option and click on the Done button:

After entering your email and password, you’ll see the Mozilla Thunderbird email access screen. Here, click on the Allow button:

Once you’re done with all these steps, press the Finish button:

Eventually, you are all set to start utilizing your Thunderbird Mail. Now, walk in and connect with others seamlessly:

How To Remove Thunderbird on Ubuntu
You can uninstall Thunderbird on Ubuntu easily based on its installation method.
1. Using CLI
Uninstalling Thunderbird on Ubuntu utilizing the CLI is a straightforward method. Just execute the apt remove command to get it done:
$ sudo apt remove --autoremove thunderbirdFinally, you’ve successfully removed Thunderbird on Ubuntu.
2. Using GUI
First, navigate to the Ubuntu Software to uninstall the Thunderbird on your Ubuntu Desktop:

Next, select the Installed tab and scroll down to locate Thunderbird. Finally, click on the Uninstall button:

This will prompt the authentication popup. Here, enter your Ubuntu password to proceed with the removal action. Then, click on the Authentication button:

Eventually, you’ve completely removed Thunderbird on your Ubuntu system using the software center.
Conclusion
Thunderbird is an unrestricted and open-source email client used to handle emails. Moreover, it enables you to connect with other people via email seamlessly. Furthermore, you can easily install and remove Thunderbird on Ubuntu using the two above-mentioned methods. You can select any technique according to your desire.
I’m a technical writer with a Bachelor’s in Computer Science. Through my research and writing, I aim to provide readers with comprehensive, informative articles that can assist them make informed decisions about their technological needs.